Few breakfast foods inspire as much enthusiasm as bacon. The irresistible aroma drifting through the kitchen, the gentle sizzle as it cooks, and the satisfying crunch of a perfectly crisp strip make it a favorite for many households. Whether served alongside eggs and toast, layered into a sandwich, or crumbled over a salad, bacon has earned its place as a versatile and beloved ingredient.
Yet for all its deliciousness, cooking bacon can sometimes feel like more trouble than it’s worth. Hot grease may splatter onto the stovetop. Pans can become difficult to clean. And the lingering residue can make post-meal cleanup frustrating.
The good news? There’s a simple, low-stress method that minimizes mess, promotes even cooking, and makes cleanup significantly easier. With just a few adjustments to your usual approach, you can prepare beautifully crisp bacon without turning your kitchen into a greasy workspace.
In this in-depth guide, you’ll learn:
-
Why traditional bacon cooking methods can be messy
-
The benefits of using a deep pot instead of a shallow pan
-
Step-by-step instructions for cleaner stovetop cooking
-
Tips for achieving perfectly crisp texture
-
Alternative mess-free cooking methods
-
How to store and reuse leftover bacon fat responsibly
-
Safe handling and cleanup advice
-
Creative ways to serve your finished bacon
Let’s dive in.
Why Cooking Bacon Can Get Messy
Bacon contains natural fat that renders (melts) as it heats. When strips lie flat in a shallow frying pan, hot fat can pop and splash beyond the edges of the cookware.
This happens because:
-
Moisture inside the bacon rapidly turns to steam
-
Steam creates small bursts under the surface
-
Hot fat is pushed outward
-
The shallow sides of a skillet offer little containment
The result can be droplets on the stovetop, nearby counters, and sometimes even clothing.
While splatter screens can help, there’s an even easier solution that doesn’t require additional equipment.
The Simple Shift: Use a Deep Pot Instead of a Shallow Pan
One of the easiest ways to reduce grease splatter is by cooking bacon in a large pot with tall sides rather than a flat skillet.
A deep pot acts as a protective barrier. The higher walls contain hot droplets, keeping your stovetop cleaner while still allowing the bacon to cook evenly.
This method works especially well when preparing:
-
Standard sliced bacon
-
Thick-cut bacon
-
Larger batches for family breakfasts
It’s a small change that can make a noticeable difference.
Step-by-Step: Cooking Bacon in a Deep Pot
Step 1: Gather Your Supplies
You’ll need:
-
A large pot with high sides
-
Tongs or a slotted spoon
-
A plate lined with paper towels
-
Your bacon
Choose a pot wide enough so the bacon can lie relatively flat without excessive crowding.
Step 2: Prepare the Bacon
For easier handling and more even distribution, consider cutting the strips in half before placing them in the pot.
Shorter strips:
-
Fit more comfortably in round pots
-
Cook more evenly
-
Are easier to turn
-
Reduce curling
This small preparation step helps create a more uniform result.
Step 3: Arrange the Bacon Evenly
Place the bacon in the pot in a single layer if possible. Avoid stacking too many strips directly on top of each other.
While slight overlap is fine, overcrowding can lead to:
-
Uneven cooking
-
Steaming instead of crisping
-
Longer cook times
If you’re preparing a large batch, cook in stages rather than cramming everything into one round.
Step 4: Start with Moderate Heat
Turn the burner to medium or medium-low heat.
Starting with moderate heat allows:
-
Gradual fat rendering
-
Better texture control
-
Reduced risk of burning
Cooking too quickly at high heat can cause excessive popping and uneven browning.
Step 5: Stir Occasionally
Using tongs, gently move the strips around every couple of minutes.
This ensures:
-
Even exposure to heat
-
Prevents sticking
-
Helps separate pieces
As the fat renders, the bacon will begin to shrink slightly and deepen in color.
Step 6: Monitor Crispness
Bacon can move quickly from perfectly crisp to overdone, so keep an eye on it during the final minutes.
For softer bacon:
-
Remove when golden and flexible
For crisp bacon:
-
Cook until deep golden brown
-
Listen for reduced sizzling (indicating most fat has rendered)
Step 7: Drain Properly
Transfer cooked bacon to a paper towel-lined plate.
Allowing excess fat to drain:
-
Improves texture
-
Prevents sogginess
-
Makes serving cleaner
Let it rest for a minute or two before serving.
Why This Method Works
The tall sides of the pot act as a splash guard. Instead of grease landing on your stovetop, it remains inside the cookware.
Additional benefits include:
-
Reduced cleanup time
-
Contained cooking space
-
Easier stirring
-
More controlled temperature environment
Many home cooks find this approach significantly less stressful than shallow frying.
Alternative Low-Mess Bacon Cooking Methods
If you’d like to explore additional approaches, here are several clean and convenient options.
1. Oven Baking Method
Baking bacon in the oven is widely considered one of the neatest ways to cook it.
How it works:
-
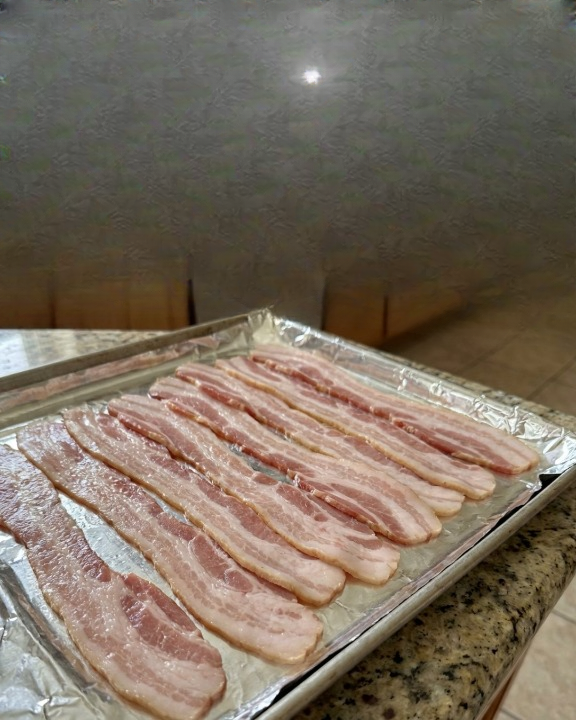
Line a baking sheet with parchment paper or foil.
-
Arrange bacon in a single layer.
-
Bake at around 400°F (200°C).
-
Cook for 15–20 minutes depending on thickness.
Benefits:
-
Minimal splatter
-
Hands-off cooking
-
Even crisping
-
Easy cleanup
This method is ideal when cooking for a crowd.
2. Wire Rack Oven Method
For extra crispness:
-
Place a wire rack over your lined baking sheet
-
Lay bacon on the rack
This allows fat to drip below the strips, promoting even browning.
3. Microwave Method
For quick preparation:
-
Place bacon between paper towels on a microwave-safe plate.
-
Cook in short intervals (about 30–60 seconds at a time).
-
Check frequently.
While texture differs slightly from stovetop cooking, this method is:
-
Fast
-
Contained
-
Easy to clean
4. Air Fryer Option
An air fryer can also cook bacon efficiently.
Benefits:
-
Quick cooking
-
Crisp results
-
Less grease splatter
Be sure to clean the basket thoroughly afterward.
Tips for Perfect Bacon Texture
Control the Heat
Moderate heat ensures gradual fat rendering and better texture.
Avoid Overcrowding
Space allows proper airflow and crisping.
Rotate When Needed
Turn or stir strips occasionally for even browning.
Watch the Final Minutes Closely
Bacon can go from crisp to overly dark quickly.
What to Do with Rendered Bacon Fat
The fat left behind after cooking is flavorful and can be saved for cooking other foods.
Common uses include:
-
Sautéing vegetables
-
Flavoring roasted potatoes
-
Adding richness to soups
If storing:
-
Let it cool slightly
-
Strain through a fine mesh sieve
-
Store in a sealed container in the refrigerator
Use within a reasonable timeframe and always practice safe food handling.
Cleaning Up Safely
Never pour hot grease directly down the sink. Instead:
-
Allow it to cool and solidify
-
Dispose of it in the trash
-
Or store for future cooking use
Wipe cookware with paper towels before washing to reduce grease buildup in plumbing.
Creative Ways to Serve Bacon
Once your bacon is perfectly cooked, the possibilities expand far beyond breakfast.
Classic Breakfast Plate
Serve with:
-
Scrambled eggs
-
Toast
-
Fresh fruit
Sandwich Addition
Layer into:
-
BLT sandwiches
-
Breakfast wraps
-
Burgers
Salad Topping
Crumble over:
-
Spinach salads
-
Caesar salads
-
Cobb salads
Pasta Garnish
Add crisp pieces to:
-
Carbonara
-
Mac and cheese
-
Creamy pasta dishes
Appetizers
Wrap around:
-
Asparagus
-
Dates
-
Shrimp
Making Bacon Part of a Balanced Meal
While bacon is flavorful, it’s best enjoyed in moderation as part of a varied and balanced diet.
Pairing it with:
-
Fresh vegetables
-
Whole grains
-
Lean proteins
helps create satisfying, well-rounded meals.
Why Small Changes Make a Big Difference
Switching from a shallow pan to a deep pot may seem minor, but it significantly improves the cooking experience.
Benefits include:
-
Less stress
-
Cleaner workspace
-
Better heat control
-
Easier stirring
Sometimes the simplest kitchen adjustments are the most effective.
Frequently Asked Questions
Does bacon need oil in the pot?
No. Bacon releases its own fat as it cooks.
Should I start with a cold pot?
Yes, starting in a cold pot allows the fat to render gradually.
Can I cover the pot?
It’s best not to cover tightly, as steam can soften the bacon. Leave it uncovered for crisp texture.
How long does it take?
Typically 8–15 minutes depending on thickness and heat level.
Final Thoughts: Enjoy Bacon Without the Mess
Cooking bacon doesn’t have to mean scrubbing grease off every surface in your kitchen. By using a deep pot instead of a shallow pan, you can contain splatter, promote even cooking, and simplify cleanup.
Whether you prefer stovetop, oven, microwave, or air fryer methods, the key is controlled heat and proper spacing.
With this hassle-free approach, you can focus on what truly matters: enjoying the rich aroma, crisp texture, and satisfying flavor of freshly cooked bacon—without the extra cleanup stress.
Next time you’re preparing breakfast or adding bacon to your favorite dish, try this cleaner method and experience how a simple shift in technique can transform your routine.